Model Build Overview
Learn how to easily build a model on Qwak
About model builds
A model build is a trained, serialized and tested model instance, bundled with the necessary dependencies that can be deployed to production.
The build process is similar to building software, and is a critical step in developing reliable and effective machine learning models.
Qwak builds models on a scalable infrastructure that allows you to customize resources, whether using a pre-trained model or running live training of any size. Model builds are stored in the model repository, where they are tracked and versioned.
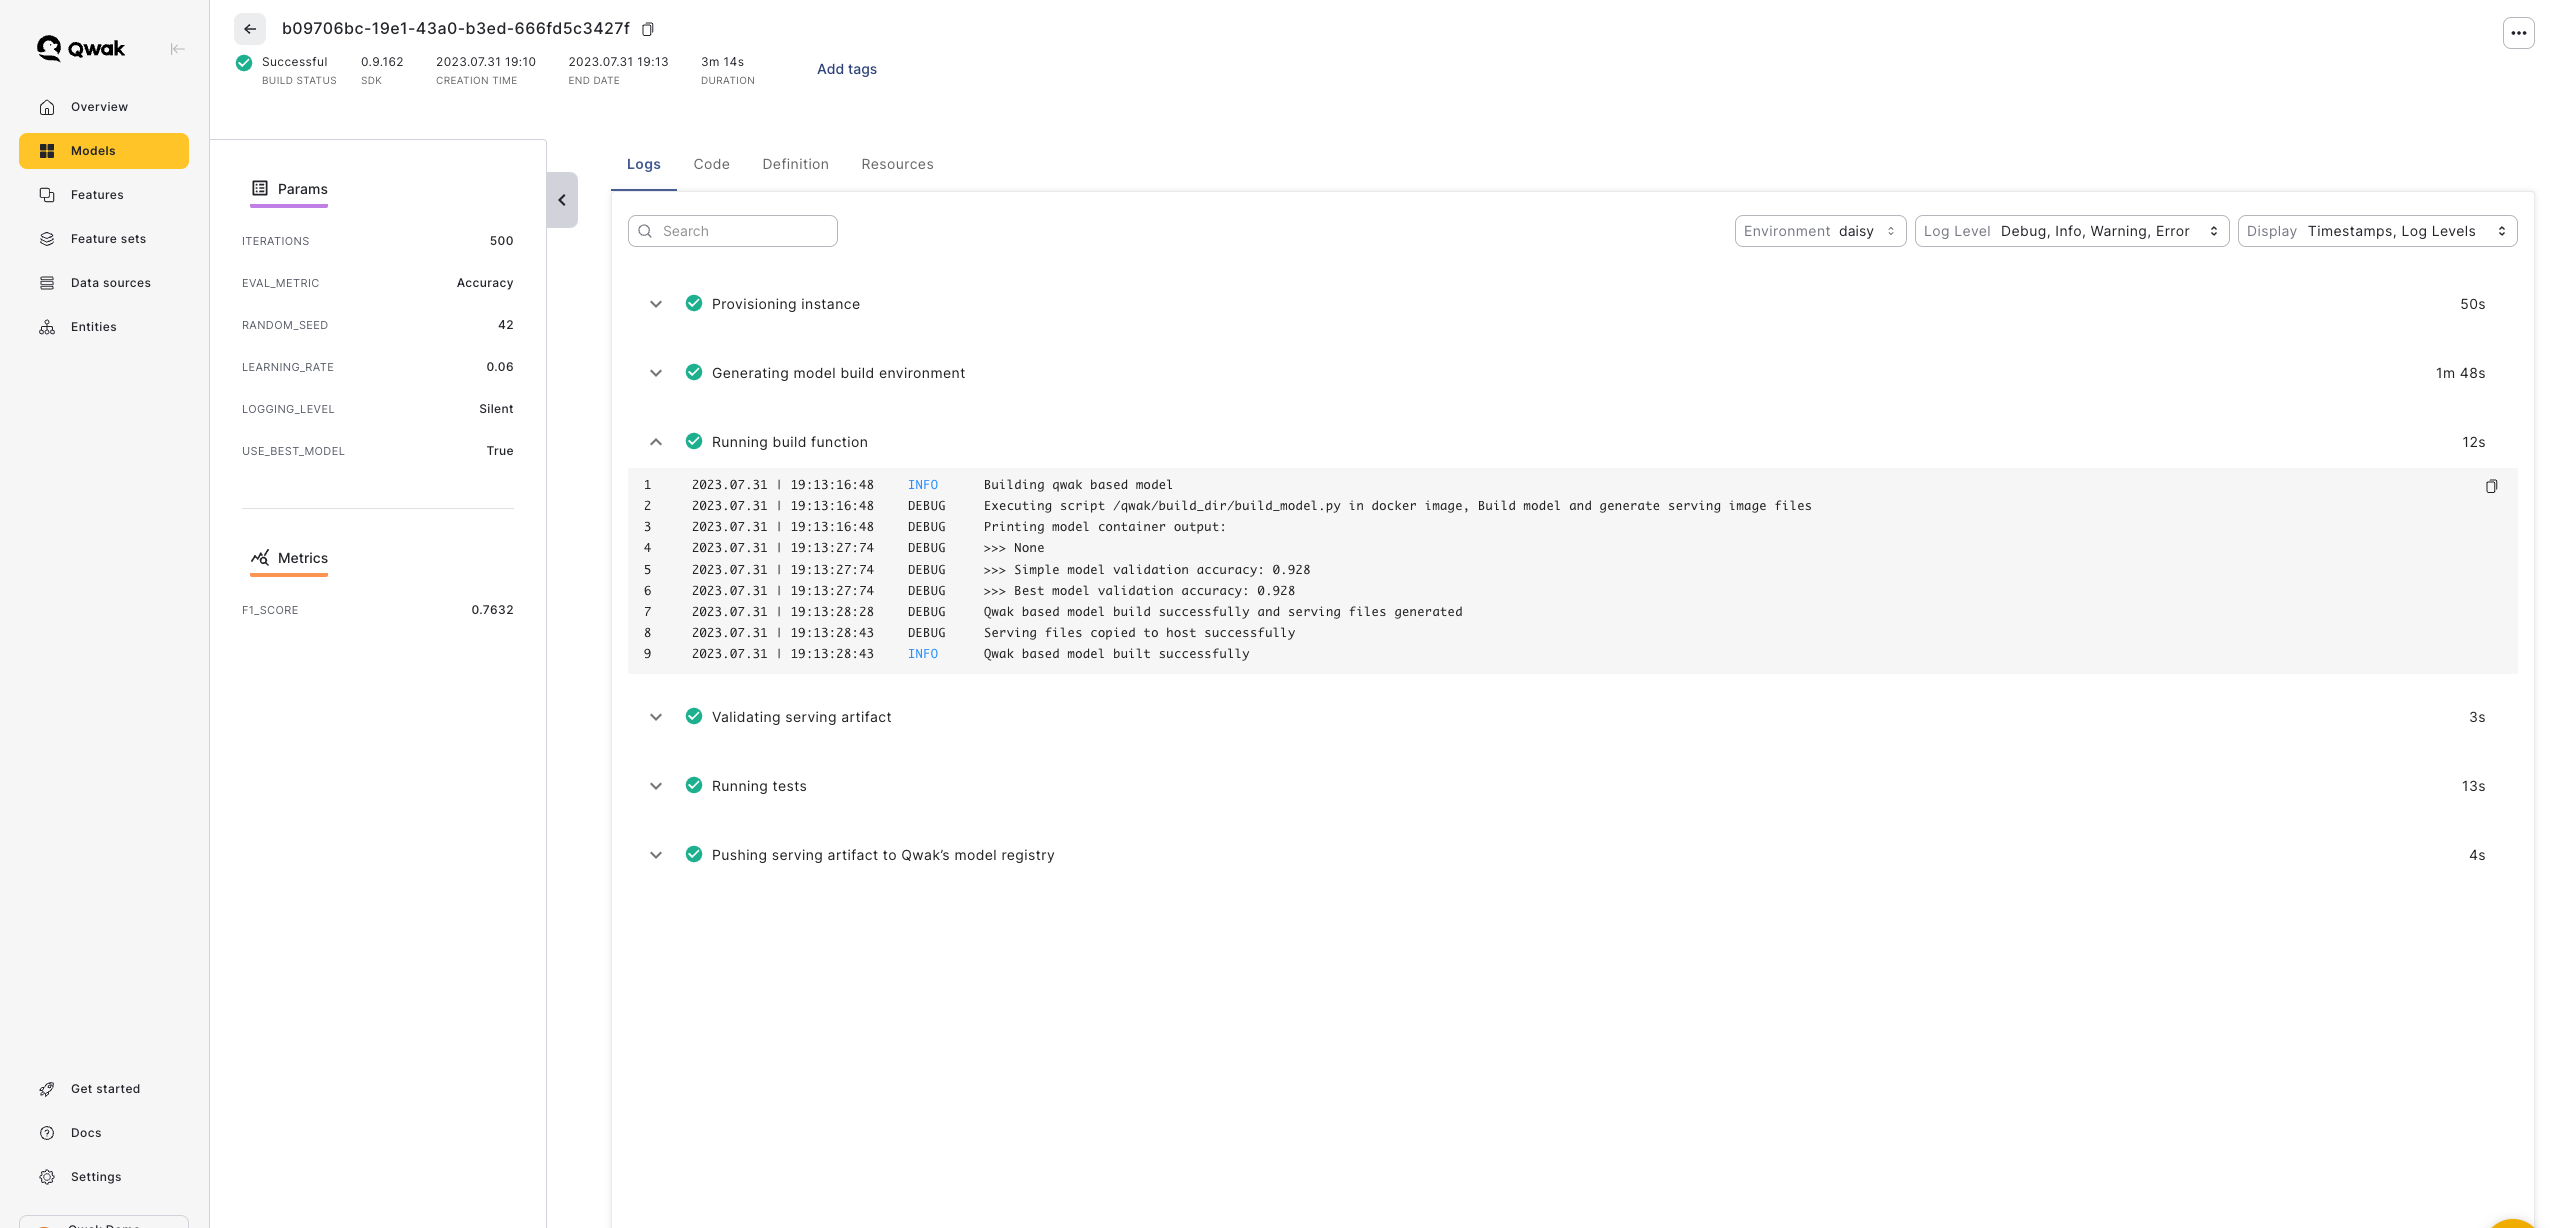
Model build lifecycle
The remote build process on Qwak is composed of the following steps:
- Creating the model's virtual environment
- Executing the build function
- Running unit and integration tests
- Serializing the model
- Building a docker image
- Pushing the docker image to Qwak's model registry
Building a model with Qwak CLI
The following steps will show you how easily to build your first model on Qwak.
Please install the Qwak Python SDK and configure your personal API key before this tutorial.
1. Creating a new model
Start by creating a new project and model on the Qwak platform. Note that the command doesn't generate local output but rather creates of a remote project and model.
Your model ID will be the model name in lowercase letter and stripped from spaces, in this case titanic.
qwak models create "Titanic" --project "Example Models"
2. Generating the model code
Generate the Titanic example model, which is available in the example templates provided with the Qwak SDK.
This command will create the files needed to build a model on Qwak.
qwak models init --example titanic .
The models init command works in the following format:
qwak models init --example <example-name> <local-model-directory>
3. Building your model
With the local model code and our new model on Qwak, we can initiate a model build.
qwak models build --model-id titanic ./titanic_survival_classification
The models build command works in the following format:
qwak models build --model-id <remote-model-id> <local-model-directory>
Running the above command we output the build ID and a link you can follow to view the live build status:
✅ Fetching Model Code (0:00:00.19)
✅ Registering Qwak Build - 100% (0:00:07.00)

Build ID 3468712e-9812-4ecd-85fd-ad7441401de0 triggered remotely

########### To follow build logs using CLI
qwak models builds logs -b 3468712e-9812-4ecd-85fd-ad7441401de0 --follow

########### To follow build logs using Qwak platform
https://app.qwak.ai/projects/47787a3b-15ad-4265-b7d4-b342d36b1933/titanic/build/3468712e-9812-4ecd-85fd-ad7441401de0
4. Tracking build progress
Building a model takes several minutes to complete. To view the build status, open the the model's build table.
When the build is complete, you can continue to deploy your model.
There are two options for viewing the build progress logs:
1. Build page on Qwak UI
Visit your model's page and choose the current build ID. Alternatively, follow the link you received in the CLI.
2. Following logs in the CLI
qwak models builds logs -b <build-id> --follow
<build-id>- The build ID that you received when executing the build remotely.
Building models with GPUs
Qwak's GPU Instances provide high-performance computing resources that can significantly accelerate the model build process. Easily customize your build resources to achieve faster training times and better results.
To build a model on a GPU instance, specify the following additional arguments in the model build command:
qwak models build --model-id <model-id> -instane gpu.t4.xl .
Choosing the right GPU
Visit the Qwak GPU Resources page to choose the resources which fit your use-case best.
Each GPU type has its own configuration of pre-defined memory and number of CPUs.
Note: Qwak utilizes EC2 Spot instances for cost-effective GPU-based builds. This may result in a slightly extended wait time when initiating GPU Spot instances.
Deploying models with GPUs
To deploy models using a GPU, you don't need to build it on a GPU instance.
Simply use the
--gpu-compatibleflag during the model build process.
When deploying a model on a GPU instance, we must verify that the model was build using a GPU compatible image. Build a model using a GPU compatible image installs additional dependencies and drivers.
Creating a GPU compatible image is simply done by adding the --gpu-compatible flag:
qwak models build --model-id <model-id> --gpu-compatible .
Running the above command will build your model on a regular CPU instance, but will allow you to later deploy it on a GPU instance.
Tagging your model build
Tags can be attached to specific builds for identification and tracking.
Add model tags from Qwak UI manually, or add tags via the Qwak CLI:
qwak models build --model-id <model-id> -T <tag_1> -T <tag_2> <local-model-directory>
Use the model-id of the model you wish to attach tags to.
Using environment variable in model builds
You may use and pass environment variables to your models build in the CLI with the following command:
qwak models build --model-id <model-id> -E ENV_VAR=VALUE <local-model-directory>
or for example with mock values:
qwak models build --model-id "titanic" -E VERSION_NUMBER=1.2 -E MODEL_NAME=catboost .
Updated 7 months ago